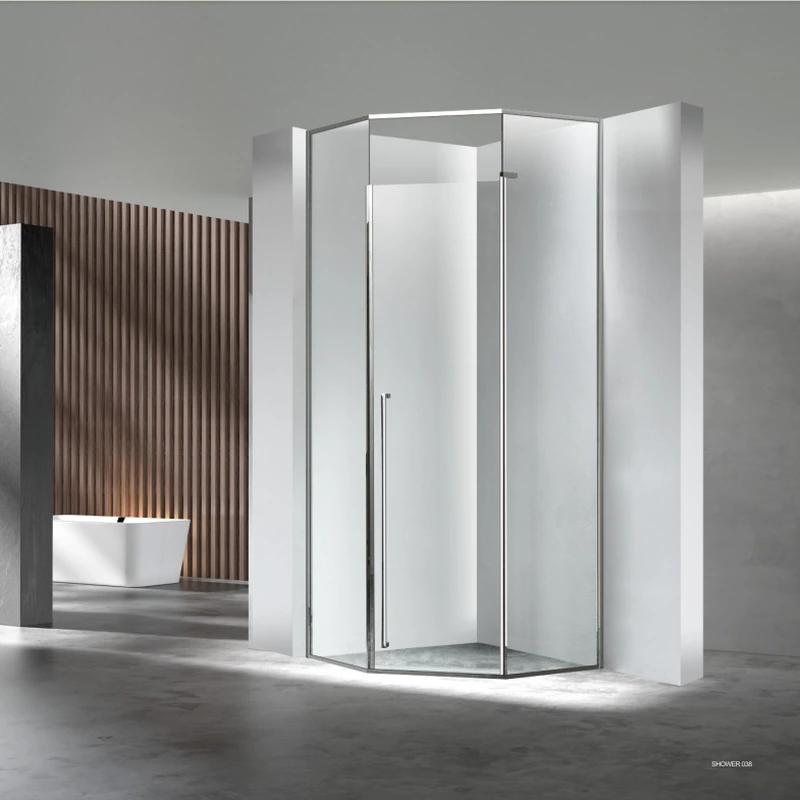
Short answer: choose 8mm or 10mm shower glass from the complete enclosure design, not from thickness alone. Panel size, fixed or moving use, support, hardware capacity, wall structure, edge and hole fabrication, installation tolerances and local safety glazing requirements all matter. A thicker panel is heavier and may require different hinges, rollers and anchorage.
Both thicknesses can appear in residential, hospitality and project work. The correct choice is the one supported by the enclosure manufacturer’s system limits, project drawings and applicable safety requirements.
| Factor | 8mm glass | 10mm glass |
|---|---|---|
| Panel weight | Lighter for the same dimensions | Heavier for the same dimensions |
| Hardware demand | Requires hardware approved for 8mm and the actual panel | Requires hardware and anchorage rated for the greater weight |
| Handling | Still requires protected edges and trained handling | Greater weight can increase transport and installation demands |
| Typical design discussion | Framed, semi-frameless and some frameless systems | Often considered for larger or more minimally framed panels when the system supports it |
| Safety | Depends on safety glazing, fabrication, system design, installation and compliance—not thickness alone | |
Shower doors and enclosures are human-impact locations. The specified glass must meet the safety glazing requirements that apply in the destination market. In the United States, architectural glazing safety requirements are addressed in 16 CFR Part 1201. Other countries and project specifications may use different standards or certification routes.
Ask for the document that applies to the supplied glass and finished enclosure. Also confirm whether the evidence covers the selected glass type, thickness, dimensions, holes, cut-outs and treatment. A generic certificate should not be assumed to cover every custom configuration.
A tall fixed panel supported along two edges behaves differently from a wide door supported by two hinges. A sliding door supported by rollers has different loads and movement from a fixed walk-in screen. The design review should identify:
Do not enlarge a panel while keeping the same hardware assumption. Send final dimensions to the enclosure manufacturer and obtain an approved drawing before production.
Thicker glass weighs more. That additional load must be carried by hinges, rollers, clamps, headers, fasteners and the wall structure. Hardware should identify compatible glass thickness, panel dimensions and load limits. For hinged doors, also check door width, hinge spacing, opening direction and nearby fixtures.
Heavier does not automatically mean better. A 10mm door installed on inadequate backing can be a worse system than a correctly engineered 8mm door. Installation responsibility, blocking and substrate should be agreed before tile and waterproofing conceal the wall structure.
Glass thickness does not make an enclosure watertight. Water containment depends on the opening arrangement, gaps, seals, curb or tray, floor slope, showerhead position, drainage and user behavior. A frameless appearance usually involves more open joints than a fully framed system.
Check door swing, access width, handle clearance and collision risks. A door should not strike a toilet, vanity, towel bar or sloped ceiling. Sliding systems need sufficient overlap and track or guide space. Record these interfaces on the room schedule.
ForgeWin’s shower enclosure manufacturer page shows hinged, sliding, fixed-panel and custom project options. Final glass and hardware must be confirmed against the actual room and destination requirements.
No. Safety depends on the approved design, safety glazing type, dimensions, fabrication, support, hardware, installation and compliance.
It may be used in some approved systems. Confirm system limits, panel size, support and local requirements.
A thicker panel is heavier, so hinges, rollers, clamps, anchors and wall support must be selected for the actual load.
Record finished widths and heights at multiple points, plumb, level, curb or tray, wall support, fixture positions, clearance and floor slope. Then send the room schedule for review.