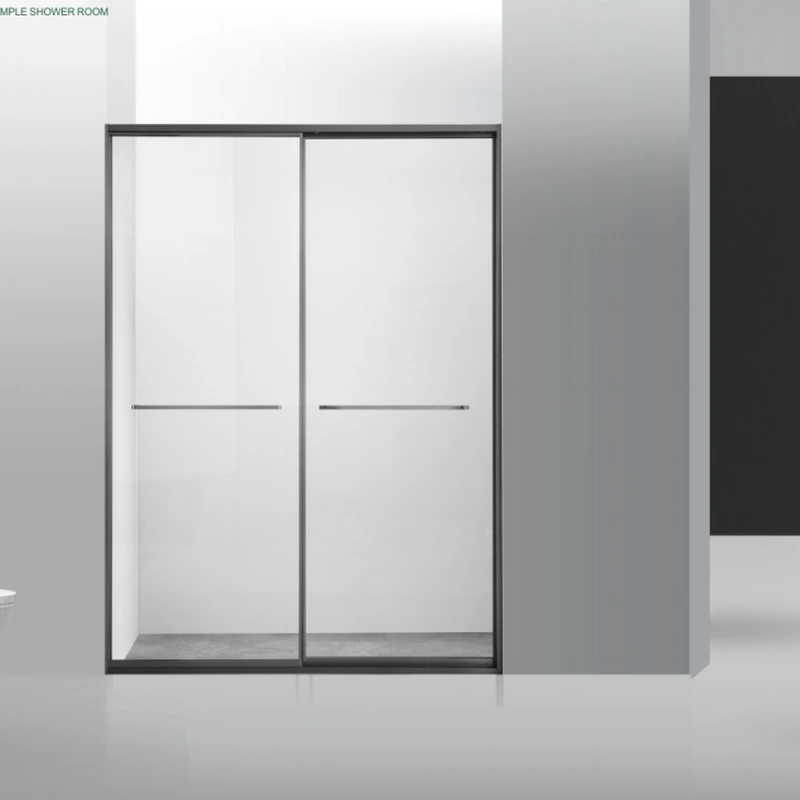
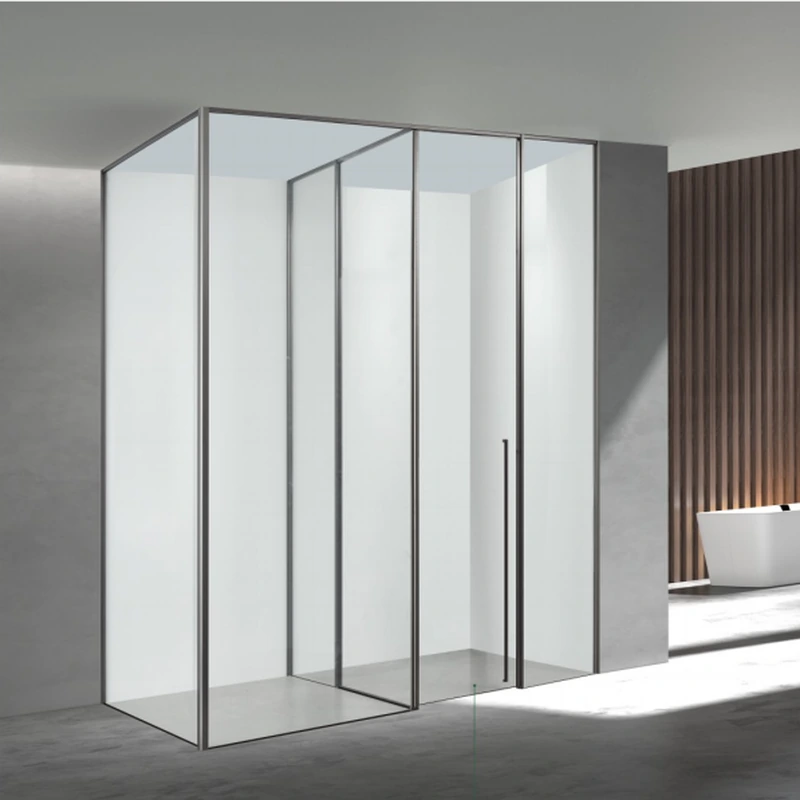
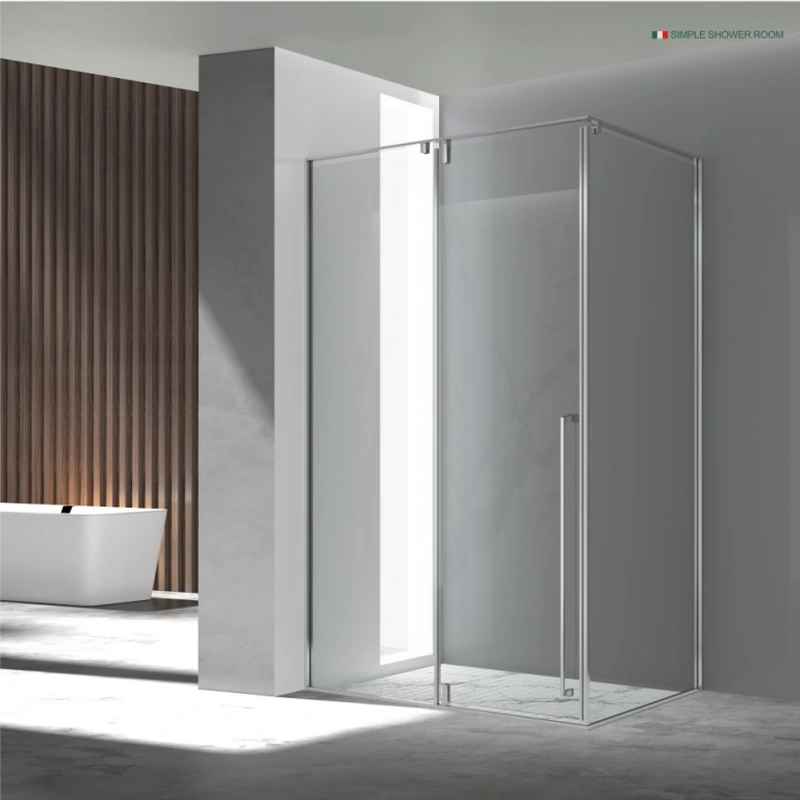
There is no single minimum that suits every shower enclosure. The usable inside dimension, entry width, door movement, fittings and clear floor area must be checked together after the bathroom finishes are defined.
A useful decision starts with the bathroom as built, not a catalogue thumbnail. Measure the opening, note where the water travels and put the proposed door movement on the plan before choosing a model.
| Decision area | What to record |
|---|---|
| Inside use | Standing, turning, controls and shower-head position |
| Door zone | Swing or sliding travel without hitting fixtures |
| Water zone | Drain, floor fall, kerb and distance to the opening |
| Future use | Cleaning, maintenance and accessibility needs |
Do not approve an option only because its photograph looks close. The same appearance can be produced with different support, glass processing and service access. The written configuration is what the fabricator and installer can actually follow.
Write down the finished opening, door movement, glass, finish, hardware, support, drainage, cleaning access and installation scope. This converts a visual preference into a quote that can be checked before production.
Separate budget dimensions from production dimensions. Plans can start a discussion; finished-site measurements and an approved drawing should control custom fabrication.
For What Is the Minimum Space for a Shower Enclosure?, start with the condition that would make the first answer wrong. Reducing glass to improve circulation can also reduce splash protection. Use a template when angles or curves cannot be described reliably.
Keep units consistent and write millimetres rather than mixing systems. A narrow walk-in entry may place the user directly in the spray path. That observation should appear on the drawing or survey sheet instead of being left for the installer to discover.
Mark shower head, controls, drain and dry-side route. Note whether the substrate is concrete, masonry, framed wall or unknown. Together, these two checks connect the room layout to a fabricatable panel rather than treating the enclosure as loose furniture.
Reducing glass to improve circulation can also reduce splash protection. Use a template when angles or curves cannot be described reliably. Keep finish samples or codes with the purchase record, not only in a chat thread.
Use a finished tile edge as a datum and label it on the sketch. Written exclusions are useful: they show where another trade must complete work. The result is a decision another person can review without relying on the original conversation.
Before approving the preferred glass arrangement, photograph the tiled wall lines. Show unknown conditions with a question mark.
One practical risk is that Reducing glass to improve circulation can also reduce splash protection. Use a template when angles or curves cannot be described reliably. That check belongs in the approval record.
On the final survey, Keep units consistent and write millimetres rather than mixing systems. Keep finish samples or codes with the purchase record, not only in a chat thread. Make the agreed condition visible to the installer.
For the question “What Is the Minimum Space for a Shower Enclosure?”, the goal is not to collect more options; it is to remove untested assumptions. A concise drawing and component list do that better than a long sales description.
A compact plan must still leave a sensible entry and a dry place to stand. Put the shower head, drain and opening on one drawing; moving the screen a few centimetres can change both splash control and circulation.
For a kerbless or open layout, screen length and floor fall do more work than a door seal. Test the path of spray and runoff before reducing glass merely to make the room look larger.
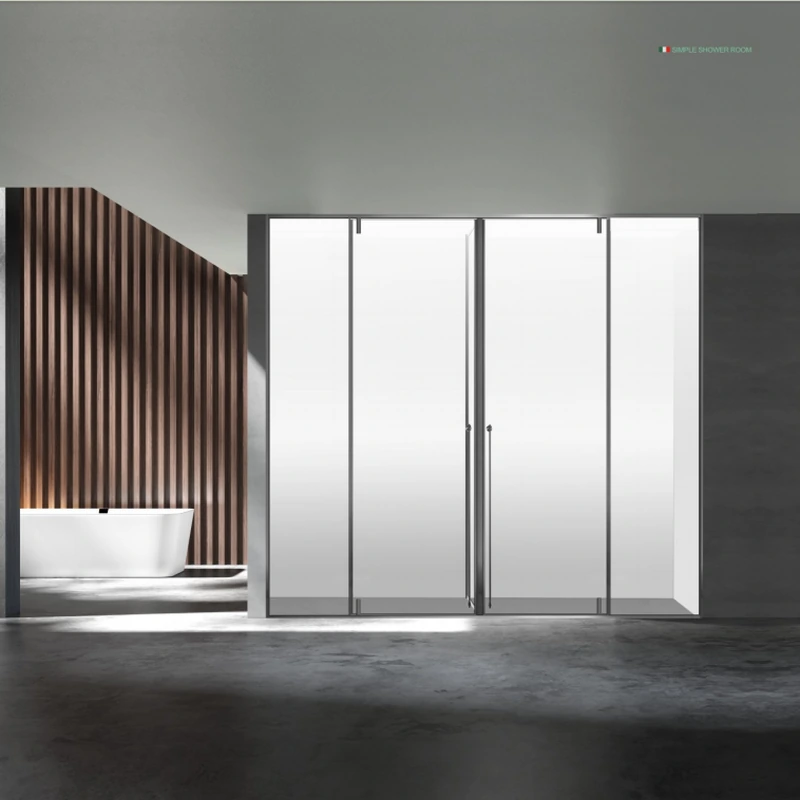
Panel height, width and support affect glass selection, and moving doors add hardware-specific load limits. This is why a proposal should identify components rather than relying on labels such as “premium” or “heavy duty.”
The ForgeWin shower enclosure range shows one way to organise the glass and hardware. Use it beside ForgeWin’s shower enclosure overview to identify preferences, then rework the configuration around the actual opening.
There is no single minimum that suits every shower enclosure. The usable inside dimension, entry width, door movement, fittings and clear floor area must be checked together after the bathroom finishes are defined.
For custom work, take final measurements after the relevant tiles, kerb and finishes are complete. Support zones and layout must be planned earlier, but production dimensions should reflect the finished opening and its actual level, plumb and square.
Send a dimensioned plan, straight-on and corner photos, project location, preferred door action, glass look, hardware finish, finished or unfinished status, installation scope and any access or accessibility constraints.
There is no single minimum that suits every shower enclosure. The usable inside dimension, entry width, door movement, fittings and clear floor area must be checked together after the bathroom finishes are defined. The reliable next step is a measured drawing and an itemised proposal that names the glass, hardware, finish, installation scope and limitations. The cited dimensions and practices are reference points, not automatic approval for a particular project or jurisdiction.
Technical note: Requirements vary by country, building type and project. Confirm the current local code, supplier data and site conditions before fabrication or installation.
2026-09-14
2026-09-06