The right answer depends on the finished opening, user needs, water-management design and the tested limits of the chosen glass and hardware system. Decide from measured conditions rather than a showroom image alone.
A useful decision starts with the bathroom as built, not a catalogue thumbnail. Measure the opening, note where the water travels and put the proposed door movement on the plan before choosing a model.
| Decision area | What to record |
|---|---|
| Source | Spray, seal gap, threshold, wall joint or drainage |
| Observation | First wet point and the condition that triggers it |
| Correction | Adjustment, seal, splash guard, re-tiling or waterproofing repair |
| Verification | Controlled water test after the repair |
Compare like with like by freezing these four rows before asking for alternatives. Otherwise one bidder may remove measurement or installation while another changes the glass or hardware, creating a price difference that is really a scope difference.
Run the shower in short stages: first toward the drain, then near each corner, seal and door. Dry the outside between tests. Note the first wet point, because water often travels along a channel before it appears at the floor.
If finishes are incomplete, record who converts structural dimensions into final glass sizes. That single responsibility avoids two teams each assuming the other allowed for tile, adhesive and tolerances.
For How Do You Stop Water Leaking Through a Shower Door Gap?, start with the condition that would make the first answer wrong. Tile lippage can leave a low pocket outside the drain route. Distinguish surface splash from moisture below or behind finishes.
Photograph any cracked, hollow or uneven finish before the survey. Open walk-in layouts trade visual simplicity for less physical containment. That observation should appear on the drawing or survey sheet instead of being left for the installer to discover.
Verify that replacement seals match the actual gap and glass thickness. Record the drain centreline and the direction in which the floor falls. Together, these two checks connect the room layout to a fabricatable panel rather than treating the enclosure as loose furniture.
A new sweep will not correct a floor that falls toward the door. Check the threshold and floor with a level, not by eye. A handover photograph of seals and gaps provides a useful baseline.
Take one photograph wide enough to show the toilet, basin and entry together. Written exclusions are useful: they show where another trade must complete work. The result is a decision another person can review without relying on the original conversation.
Before approving the marked-up layout, document the wet-area boundary. Keep the same datum on every measurement.
Do not overlook that Direct spray at a hinge or opening can overwhelm otherwise normal gaps. Inspect seal contact with the door fully closed. That check belongs in the approval record.
When finishes are ready, Use a finished tile edge as a datum and label it on the sketch. Record the local standard and project requirement rather than copying a foreign rule blindly. Keep the accepted limitation beside the product reference.
For the question “How Do You Stop Water Leaking Through a Shower Door Gap?”, the goal is not to collect more options; it is to remove untested assumptions. A concise drawing and component list do that better than a long sales description.
The enclosure line is only one part of the water path. The membrane, drain, falls, kerb and tile joints sit behind it, so a leak diagnosis should distinguish escaping spray from water entering the building fabric.
During testing, change one condition at a time and dry the outside between runs. This identifies whether water crosses a door gap, tracks along a profile or ponds because the floor does not drain.
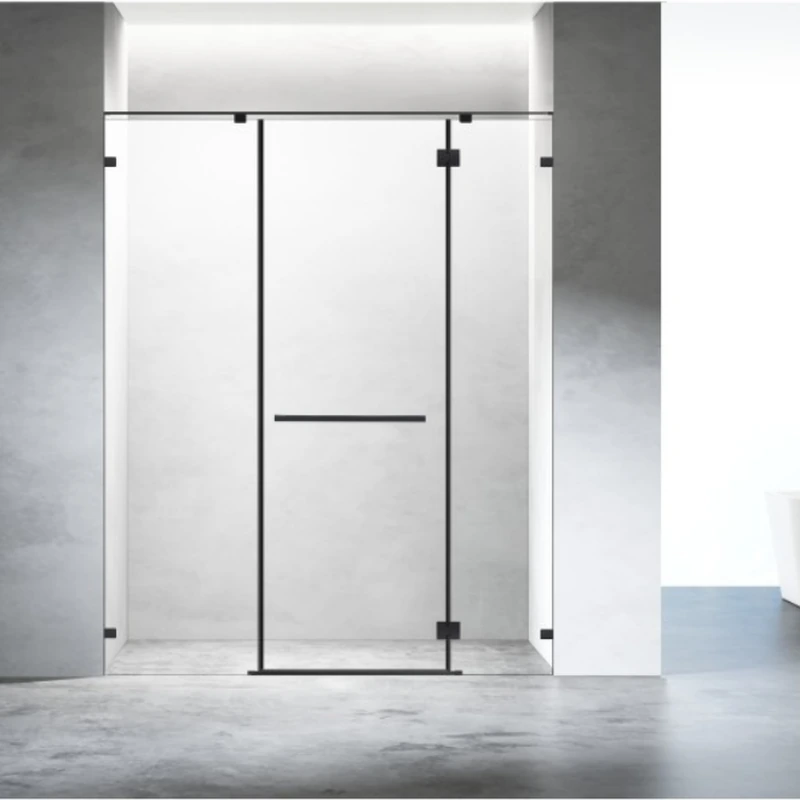
National Glass Association guidance makes an important distinction: the selected hardware manufacturer controls operating-panel width and weight limits, while panel size and support determine bracing needs. Ask for the exact hardware reference.
A useful next step is to mark up the ForgeWin shower enclosure range with what would need to change for the project. The custom shower enclosure page provides additional context for that conversation.
The right answer depends on the finished opening, user needs, water-management design and the tested limits of the chosen glass and hardware system. Decide from measured conditions rather than a showroom image alone.
No. The screen manages splash at the enclosure line; the membrane, floor fall, drain and wet-area detailing protect the building. A glass panel cannot correct failed waterproofing or a floor that falls away from the drain.
Send a dimensioned plan, straight-on and corner photos, project location, preferred door action, glass look, hardware finish, finished or unfinished status, installation scope and any access or accessibility constraints.
The right answer depends on the finished opening, user needs, water-management design and the tested limits of the chosen glass and hardware system. Decide from measured conditions rather than a showroom image alone. The reliable next step is a measured drawing and an itemised proposal that names the glass, hardware, finish, installation scope and limitations. The cited dimensions and practices are reference points, not automatic approval for a particular project or jurisdiction.
Technical note: Requirements vary by country, building type and project. Confirm the current local code, supplier data and site conditions before fabrication or installation.
2026-08-30
2026-09-07
2026-09-15
2026-09-23