The practical answer is straightforward: The right answer depends on the finished opening, user needs, water-management design and the tested limits of the chosen glass and hardware system. Decide from measured conditions rather than a showroom image alone.
From there, separate what is a design preference from what must be verified by measurement, product data or a site survey. That keeps a concise online answer from becoming an unsafe blanket rule.
| Decision area | What to record |
|---|---|
| Design stage | Select layout, door handing, support zones and interfaces |
| Finish stage | Complete waterproofing, screed, kerb and tile |
| Survey stage | Measure level, plumb, square and finished clearances |
| Handover | Test operation, water management and care instructions |
The table is also a handover checklist. Keep the approved version with the order so the delivered panels, finish and door handing can be checked before drilling starts. Small discrepancies are much easier to solve while the glass is still packed.
The approved record should show finished dimensions, wall and floor variation, glass thickness, door handing, hardware, finish, fixing substrate and interface responsibility. Once tempered glass is made, site cutting and drilling are not acceptable adjustments.
A site visit should finish with more than a number: it should confirm the fixing substrate, drill zones, access, door movement and water direction. Those observations explain why the final configuration may differ from the first sketch.
For At What Renovation Stage Should a Shower Screen Be Installed?, start with the condition that would make the first answer wrong. Drilling without substrate information risks both brittle finishes and hidden services. Approve door handing, gaps, hardware and finish on one drawing.
Add the drawing date so an older plan cannot be mistaken for the approved one. Converting a framed unit usually leaves fixing holes and different glass dimensions. That observation should appear on the drawing or survey sheet instead of being left for the installer to discover.
Follow the sealant maker’s stated cure conditions. Measure ceiling height only when it affects bracing or ventilation. Together, these two checks connect the room layout to a fabricatable panel rather than treating the enclosure as loose furniture.
Drilling without substrate information risks both brittle finishes and hidden services. Approve door handing, gaps, hardware and finish on one drawing. A handover photograph of seals and gaps provides a useful baseline.
State whether the room is occupied, under renovation or ready for handover. If an alternative saves cost, require the same explanation of limits and care. The result is a decision another person can review without relying on the original conversation.
Before ordering the preferred glass arrangement, verify the fixing surfaces. Use one dated drawing for the discussion.
Do not overlook that Drilling without substrate information risks both brittle finishes and hidden services. Approve door handing, gaps, hardware and finish on one drawing. The answer can change the hardware or layout.
At the site review, Take one photograph wide enough to show the toilet, basin and entry together. A component schedule makes later maintenance and replacement far easier. Make the agreed condition visible to the installer.
For the question “At What Renovation Stage Should a Shower Screen Be Installed?”, the goal is not to collect more options; it is to remove untested assumptions. It also gives the handover team a baseline for later inspection.
Waterproofing, screed, kerb and tile should form a coherent wet-area system before custom panels are released. BCA guidance is clear that tiles and grout alone are not the waterproof barrier.
At handover, operate every panel and run a controlled water test that respects the intended spray direction. Record any limitation of an open or frameless configuration instead of promising absolute watertightness.
For frameless work, the National Glass Association advises following the chosen hardware maker’s width and weight limits. Similar-looking fittings are not proof of equal performance, so keep the component schedule with the drawing.
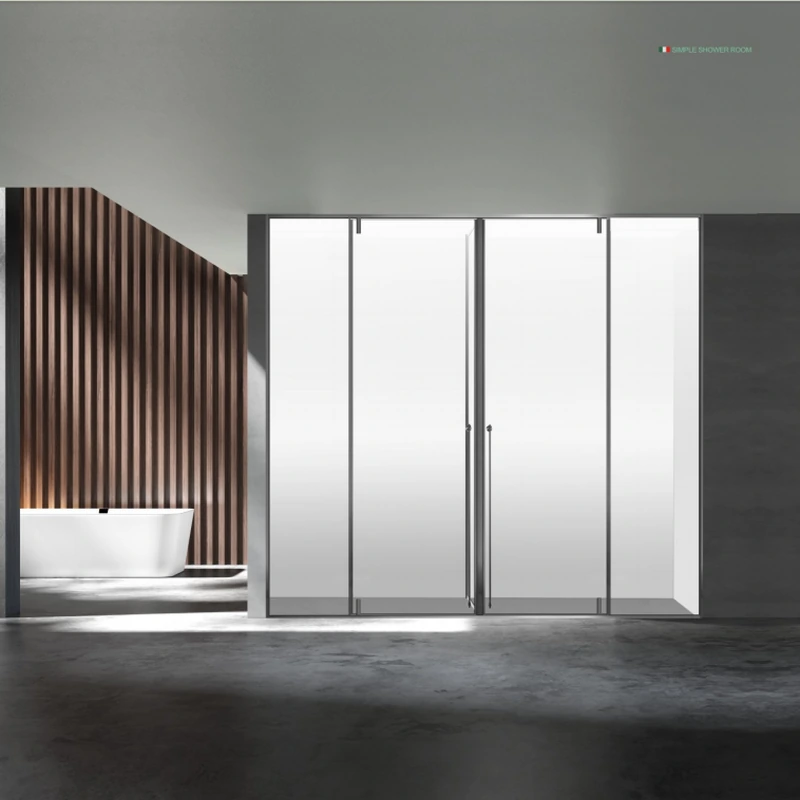
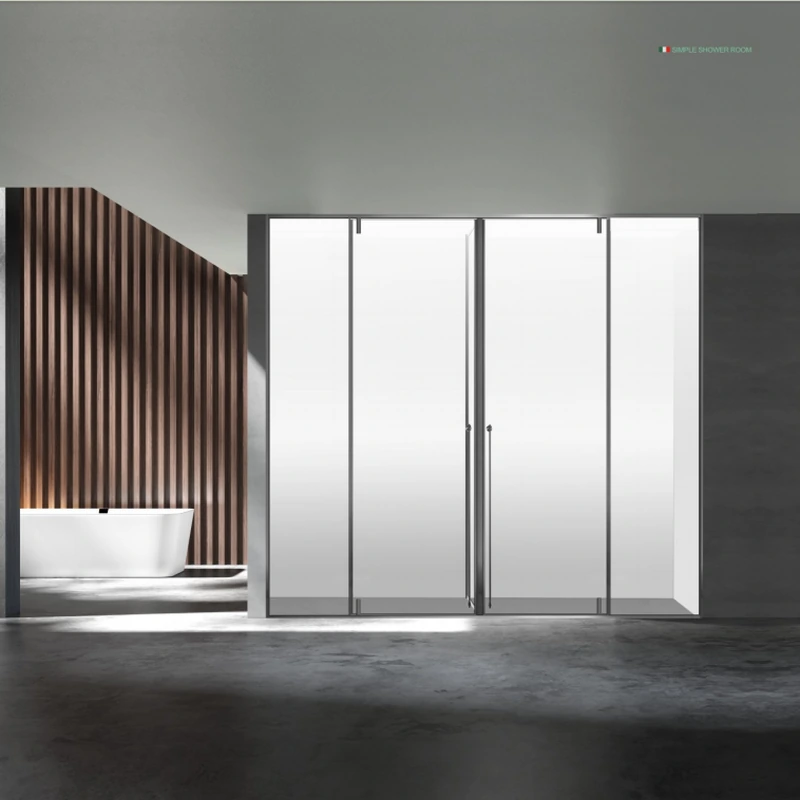
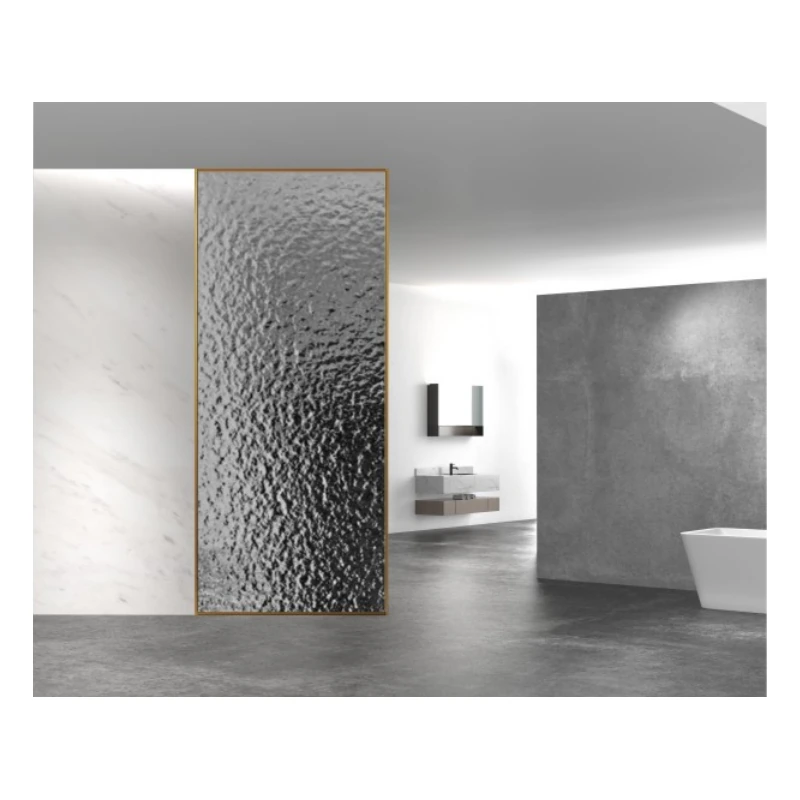
For a concrete visual reference, review the ForgeWin shower enclosure range, then compare it with the broader ForgeWin custom shower enclosure range. The examples help discuss layout; they do not replace a measured drawing.
The right answer depends on the finished opening, user needs, water-management design and the tested limits of the chosen glass and hardware system. Decide from measured conditions rather than a showroom image alone.
For custom work, take final measurements after the relevant tiles, kerb and finishes are complete. Support zones and layout must be planned earlier, but production dimensions should reflect the finished opening and its actual level, plumb and square.
Send a dimensioned plan, straight-on and corner photos, project location, preferred door action, glass look, hardware finish, finished or unfinished status, installation scope and any access or accessibility constraints.
The right answer depends on the finished opening, user needs, water-management design and the tested limits of the chosen glass and hardware system. Decide from measured conditions rather than a showroom image alone. The reliable next step is a measured drawing and an itemised proposal that names the glass, hardware, finish, installation scope and limitations. The cited dimensions and practices are reference points, not automatic approval for a particular project or jurisdiction.
Technical note: Requirements vary by country, building type and project. Confirm the current local code, supplier data and site conditions before fabrication or installation.
2026-09-11
2026-09-27