A stainless steel kitchen backsplash should be planned around wall conditions, joints and every opening in the sheet. Confirm the finished countertop position before measuring. Outlets, controls, corners and adjoining materials need coordinated details so the installer is not resolving them after fabrication.
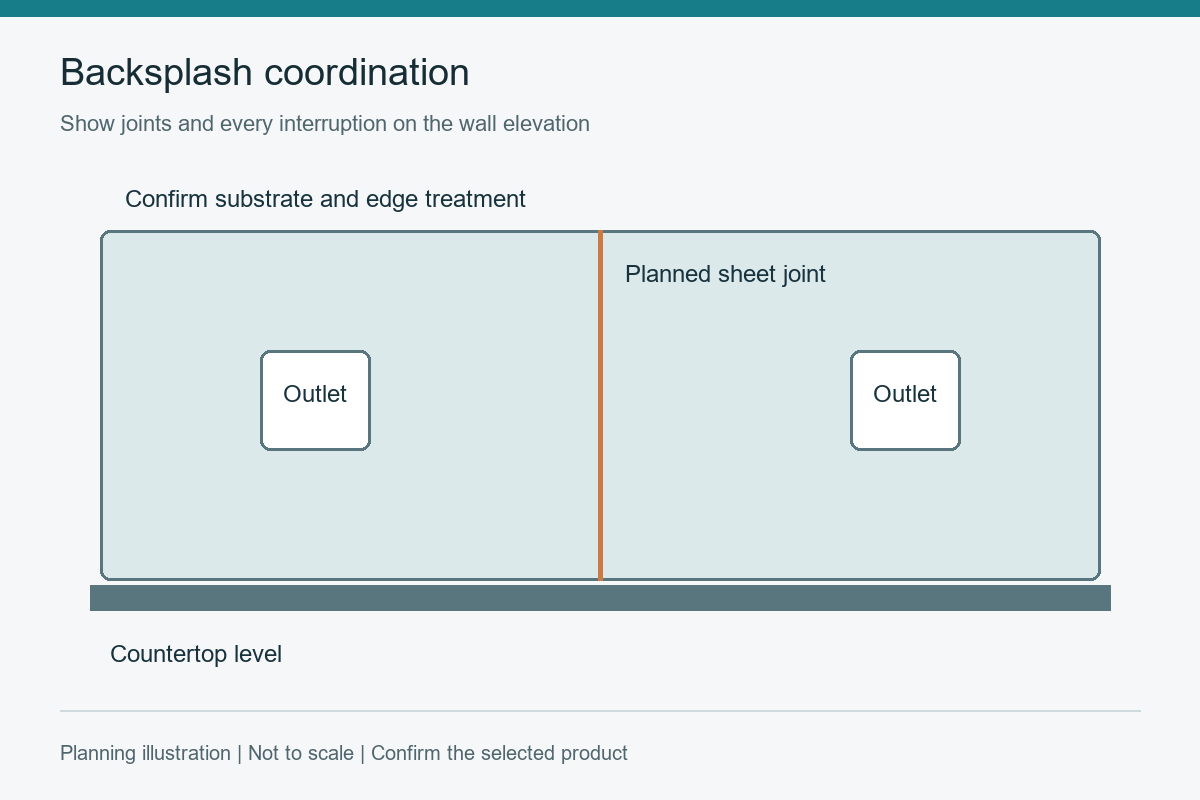
Survey outlets, switches, gas or water points, hood edges, windows, cabinets and uneven corners. Put each penetration on the shop drawing with a dimension from a verified reference. Field-cut openings can be necessary, but the responsibility and finishing method should be agreed before the panel arrives.
Large walls may need multiple panels because of material, transport or access limits. Align breaks with cabinets or other visual lines where practical and specify how joints are sealed or expressed. Grain direction and reflected light can make adjacent sheets look different even when they share the same nominal finish.
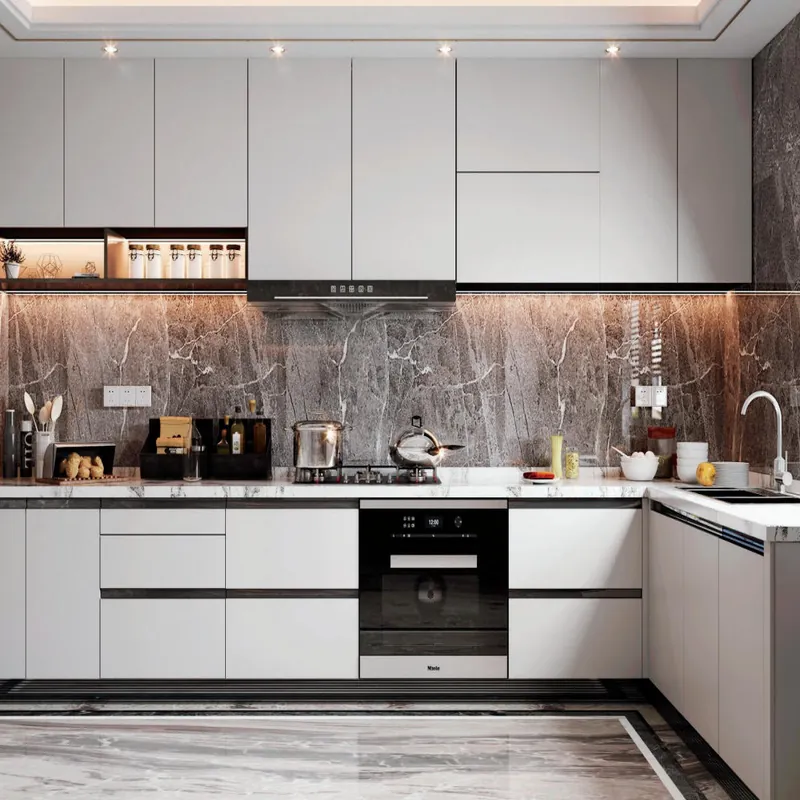
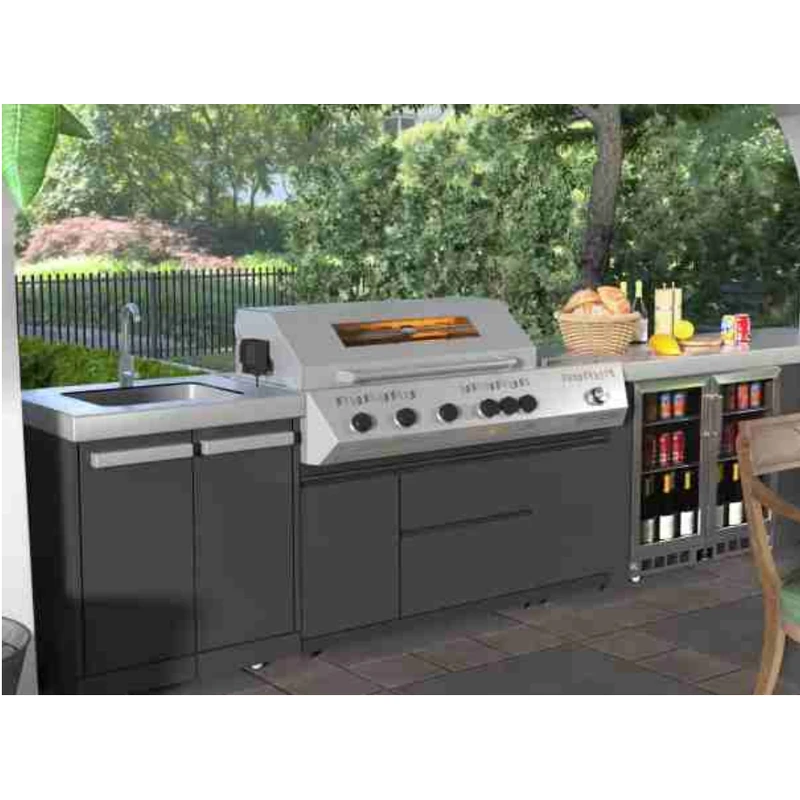
A related layout to review is FW-MK-004 cabinet layout. The cabinet layout is a coordination reference; specify the required countertop or backsplash material separately.
Check that the wall is dry, stable and sufficiently flat for the selected fixing method. Coordinate bottom and top joints with the countertop, hood and cabinetry. Protect the face during installation, remove film as directed and complete sealant without trapping debris along exposed edges.
Draw the wall elevation with the counter, sockets and appliance edges in place. Mark sheet joints deliberately rather than letting them fall wherever a stock sheet ends. Review a finish sample vertically, where light will strike it in use. Agree how edges will be finished and which trade checks the substrate before the panel is fixed.
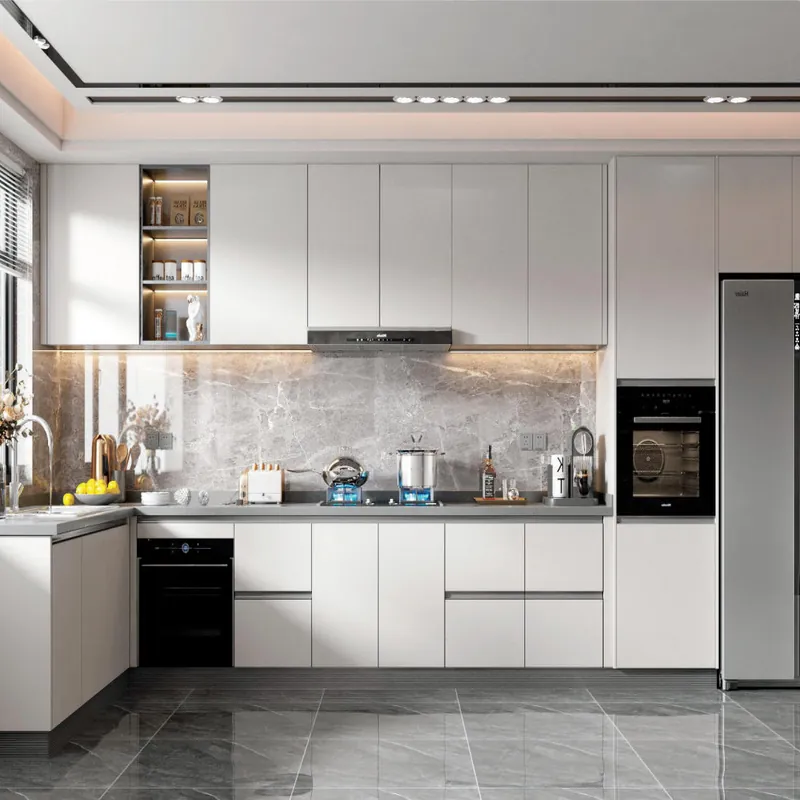
A related layout to review is FW-MK-001 cabinet layout. The cabinet layout is a coordination reference; specify the required countertop or backsplash material separately.
A preliminary drawing can be prepared early, but final fabrication dimensions must reflect the agreed installation sequence. If the countertop or wall finish is still provisional, have the responsible installer confirm when the measurements can be released.
Use the checks above to mark the unresolved items on your drawing or quotation. Send that marked-up version with the selected product reference so the next discussion can focus on the actual configuration.