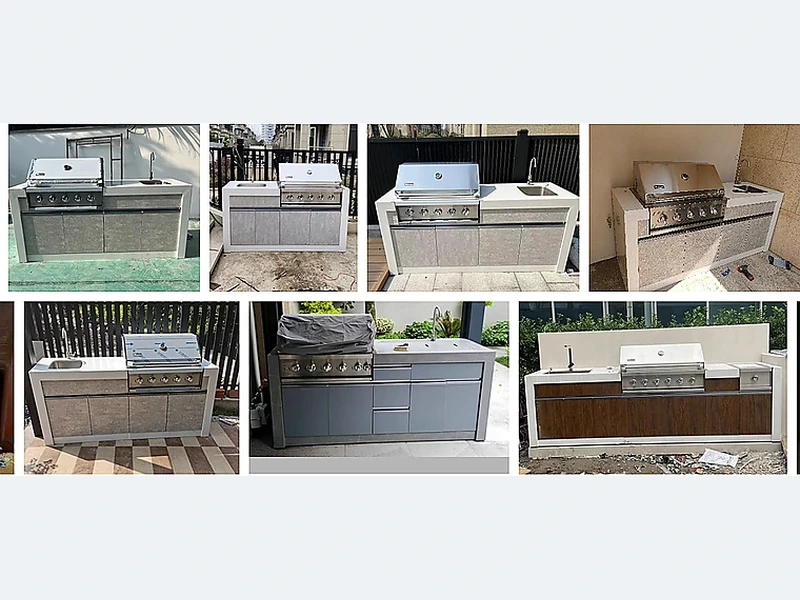
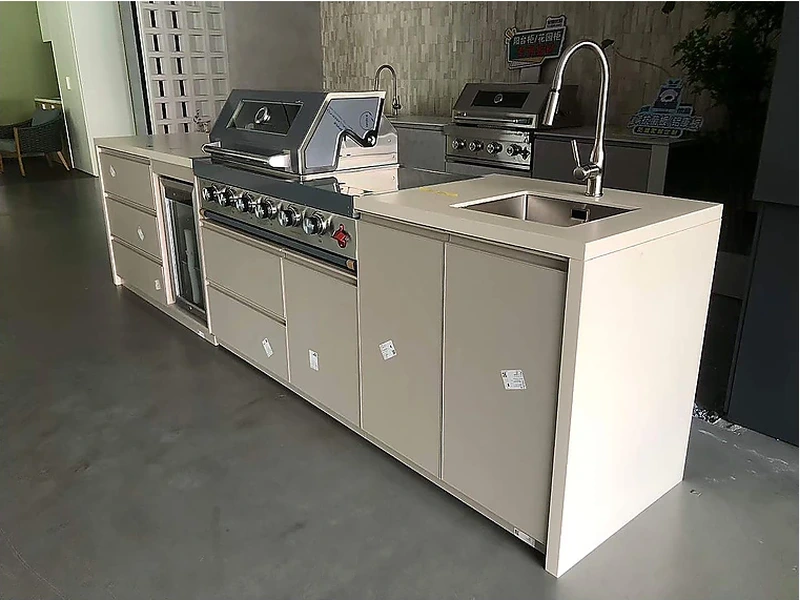
A useful outdoor kitchen needs a safe cooking appliance, landing space on both sides where the appliance requires it, durable worktop, task lighting and enough weather-resistant storage for the way you cook. Add a sink, refrigerator, bins or seating only when they solve a real workflow need. Every appliance and service should remain accessible for maintenance after the cabinets are installed.
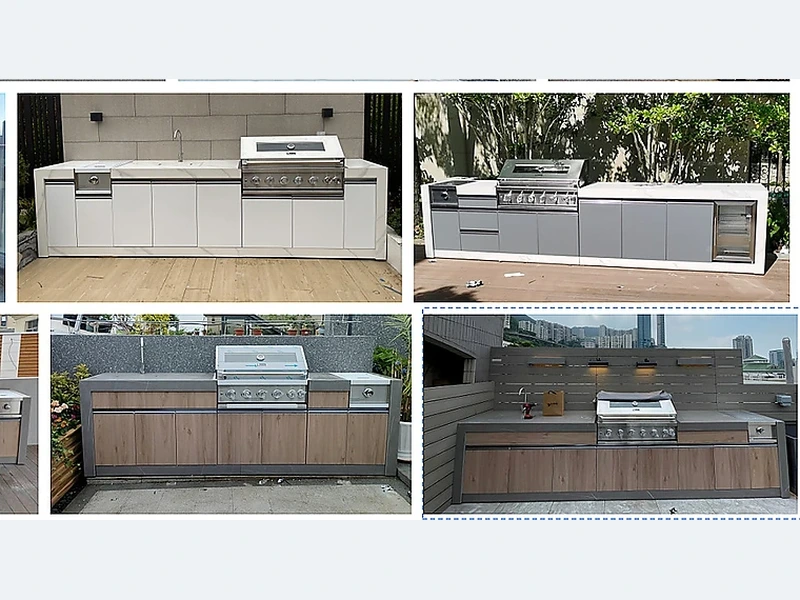
Most disappointing outdoor kitchens fail at an interface: cabinet to appliance, worktop to weather, or service line to site. Start at full scale on the measured site. Fixed walls, columns, pool edges and utility points set the frame; appliance clearances set the no-go zones. Only then should storage and decorative panels fill the remaining run.
Before approving a quotation, for “What should an outdoor kitchen include?”, use one revision-controlled plan for quotation, approval and installation. Note exposure, open appliance doors, service access and unresolved approvals on that sheet so later substitutions can be checked against the same baseline. The result is usually simpler, safer and easier to price than adding features one at a time.
| Decision | What to examine | What to record |
|---|---|---|
| Cooking zone | Heat, smoke, fuel and landing space | Exact grill position |
| Preparation zone | Continuous worktop and sink relationship | Clear usable surface |
| Circulation | Doors, lids, stools and people | Scaled open-door plan |
| Services | Gas, power, water, drain and lighting | Coordinated rough-in drawing |
Use this list before accepting a design, price or product recommendation:
Evidence boundary: Use these checks to prepare the brief, then verify the final drawing against model-specific manuals and local requirements. No general article can approve a service connection or safety clearance for an unseen site.
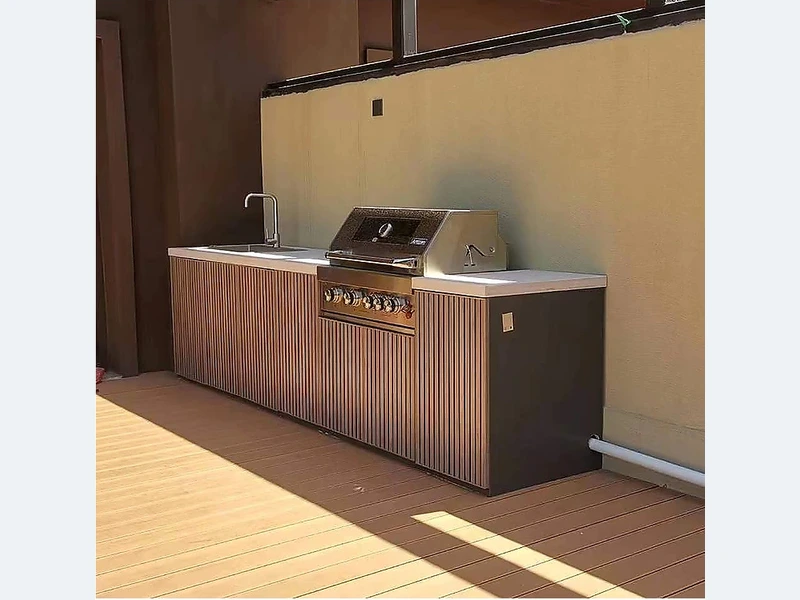
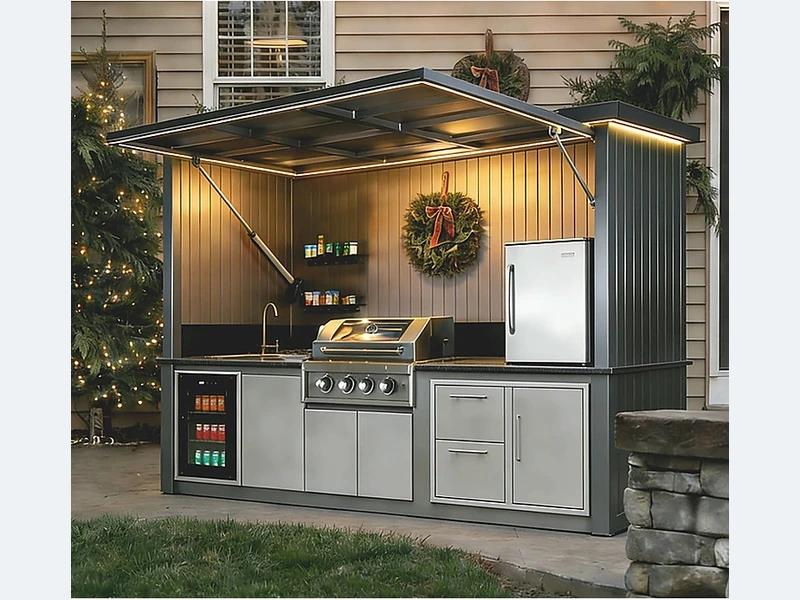
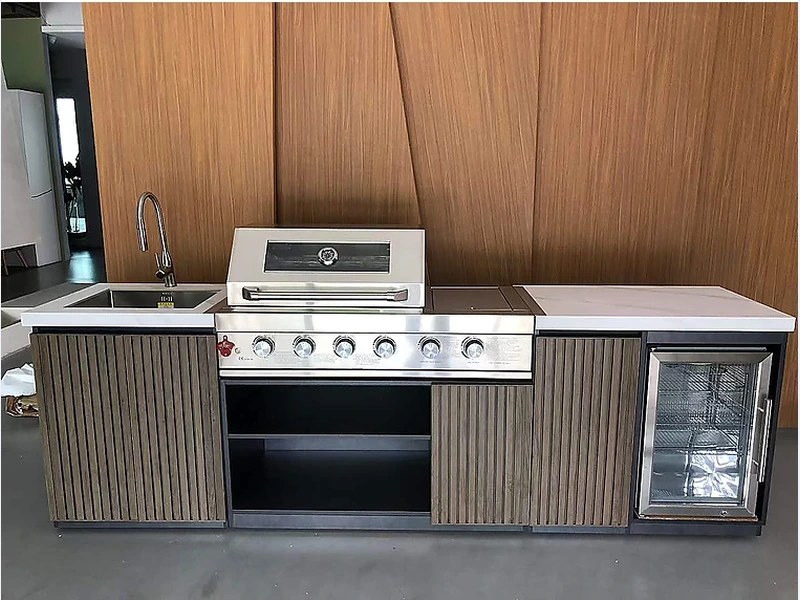
One useful configuration reference is the straight outdoor kitchen design collection together with the broader ForgeWin outdoor-kitchen range. Treat both as configuration references, then submit the measured site, appliance schedule, finish direction and delivery location for a project review.
Use the ForgeWin proposal to coordinate modules and cut-outs, then return site and trade comments on the same drawing. This two-way check is especially important where worktops, fuel, drainage or existing construction fix the available dimensions.
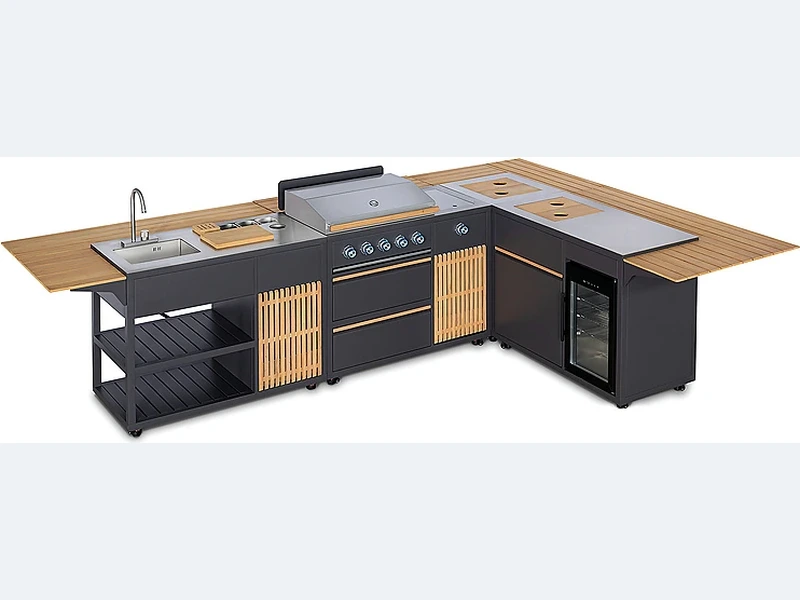
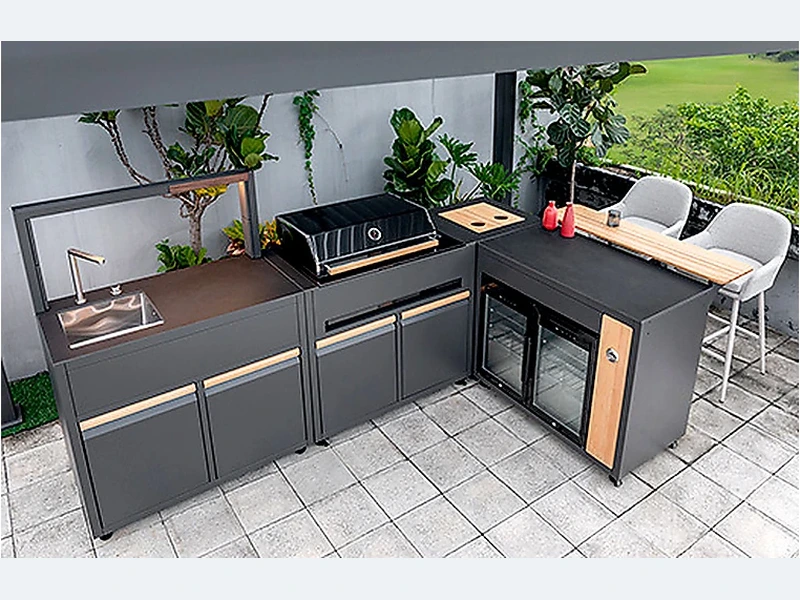
The best layout is the simplest shape that supports the site and the way people move. A straight run suits narrow patios; an L-shape adds preparation space and separates zones; a U-shape provides maximum worktop but needs a generous aisle. Choose after plotting doors, pool edges, seating, smoke direction, views, appliance doors and the clearances required by each product.
There is no single correct outdoor-kitchen size. Start with the appliance widths, required clearances, useful landing space and the aisle needed for doors and people to pass safely. A compact straight run can work well when functions are edited; a larger U-shape only works when the centre aisle remains comfortable. Draw the cabinets and all open doors at scale before choosing a length.
Design an outdoor kitchen from the site and appliance schedule outward. Record the available dimensions, weather exposure, traffic paths and utility points; select the exact grill and other built-ins; divide the run into cooking, preparation, serving and cleaning zones; then coordinate cabinets, worktop joints, ventilation and drainage. Approve a dimensioned drawing before ordering anything that depends on an appliance cut-out.
For “What should an outdoor kitchen include?”, keep the solution simple until the fixed constraints are known. Once site, weather, equipment and services are recorded, the remaining choices can be priced without forcing late changes. Send ForgeWin the dimensions, photos and model numbers so unresolved items can be marked before production.
2026-09-12
2026-09-20
2026-09-28
2026-10-06