Aluminum window installation needs a coordinated detail between the frame and the wall. Review the opening, support, anchorage, flashing, seals and drainage together before work starts. A well-made window can still perform poorly when the surrounding installation is unresolved.
Measure width, height, diagonals, plumb, level and sill conditions after the surrounding work reaches the agreed stage. Record tolerances and resolve differences against the approved drawings before irreversible fabrication.
Coordinate sub-sills, flashing laps, drainage holes and perimeter seals with the wall system. A sealant bead alone should not be assumed to replace a designed water-management path. Keep weeps open after finishing.
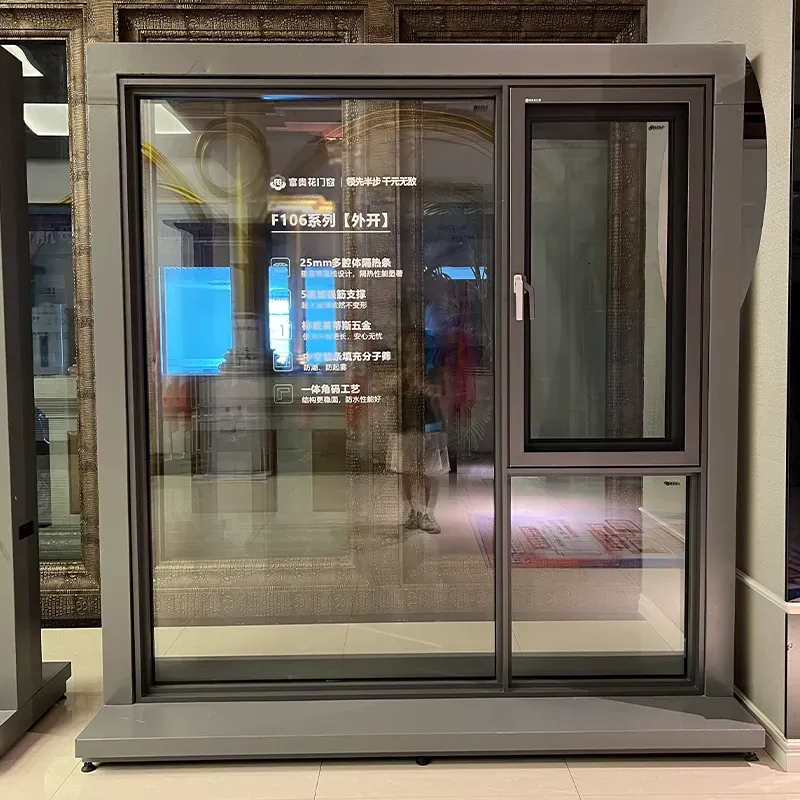
A related layout to review is F106 Series All-in-One Outward Casement Window with Insect Screen. Use the product page to discuss the proposed dimensions and configuration.
After installation, check alignment, sash or panel movement, locks, rollers, gaskets and sealant continuity. Remove protective film at the correct time and document any field water or air testing required by the project.
Building height, terrain, orientation and shelter affect pressure and rain. Ask the project engineer or applicable standard for design values rather than copying a low-rise residential product claim.
Frame drainage, sill design, glazing seals and wall flashing must work in sequence. Keep weeps open and avoid interior sealant details that trap water. Field water testing can reveal interface problems.
Coastal salt and pollution increase maintenance needs. Specify suitable coating preparation and hardware, then set cleaning intervals from actual exposure. Confirm warranty exclusions before purchase.
Ask the installer to draw a section through the sill and jamb for the actual wall construction. Follow the intended water path to the exterior and identify where the window's drainage exits. Check that later finishes will not obstruct that route. Record which trade prepares the opening and who inspects the concealed work before it is covered.
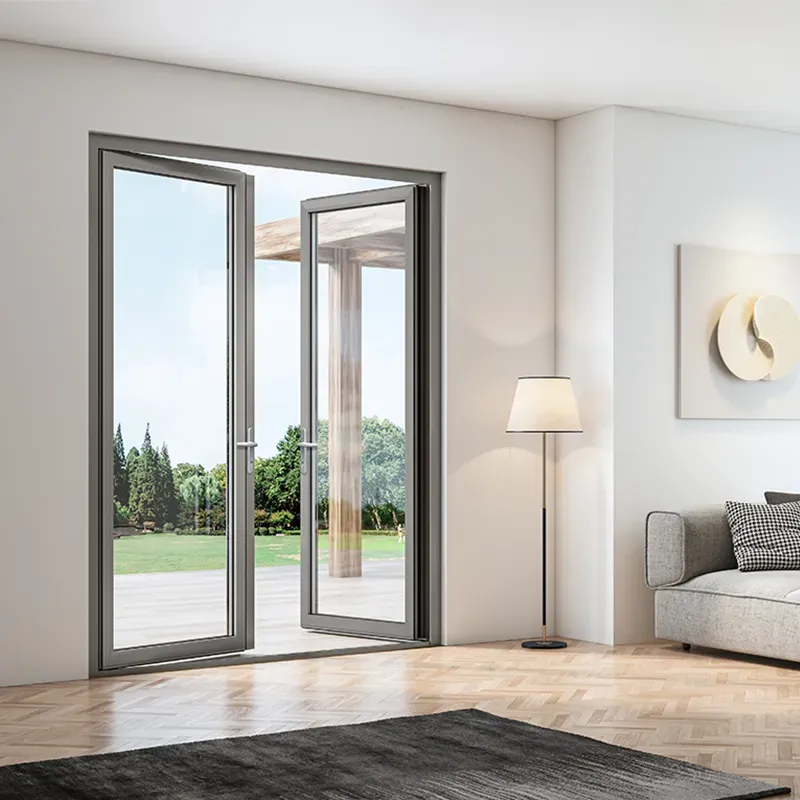
A related layout to review is 50 SERIES Plain Aluminum Hinged Door. Use the product page to discuss the proposed dimensions and configuration.
Do not assume it can. The installation must address support, water management and the interfaces required by the chosen system and wall. Follow the product instructions and project detail rather than relying on a visible sealant bead alone.
Use the checks above to mark the unresolved items on your drawing or quotation. Send that marked-up version with the selected product reference so the next discussion can focus on the actual configuration.