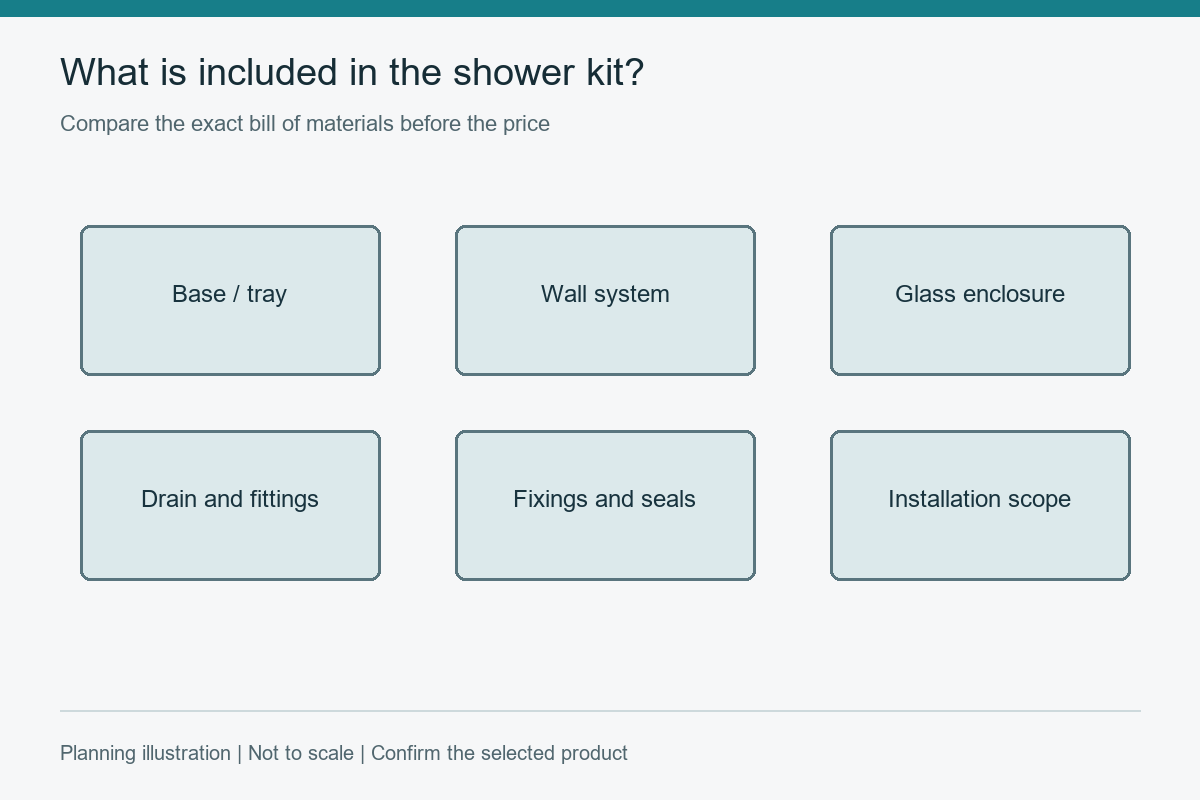
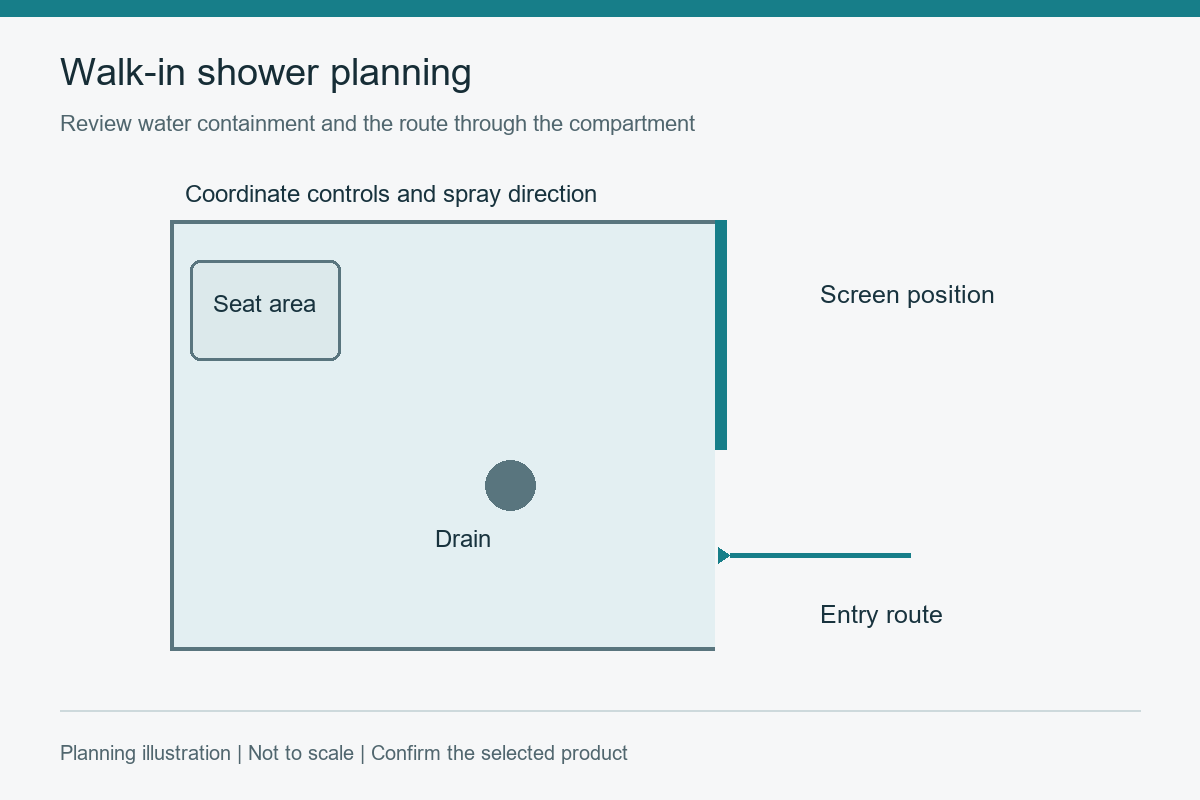
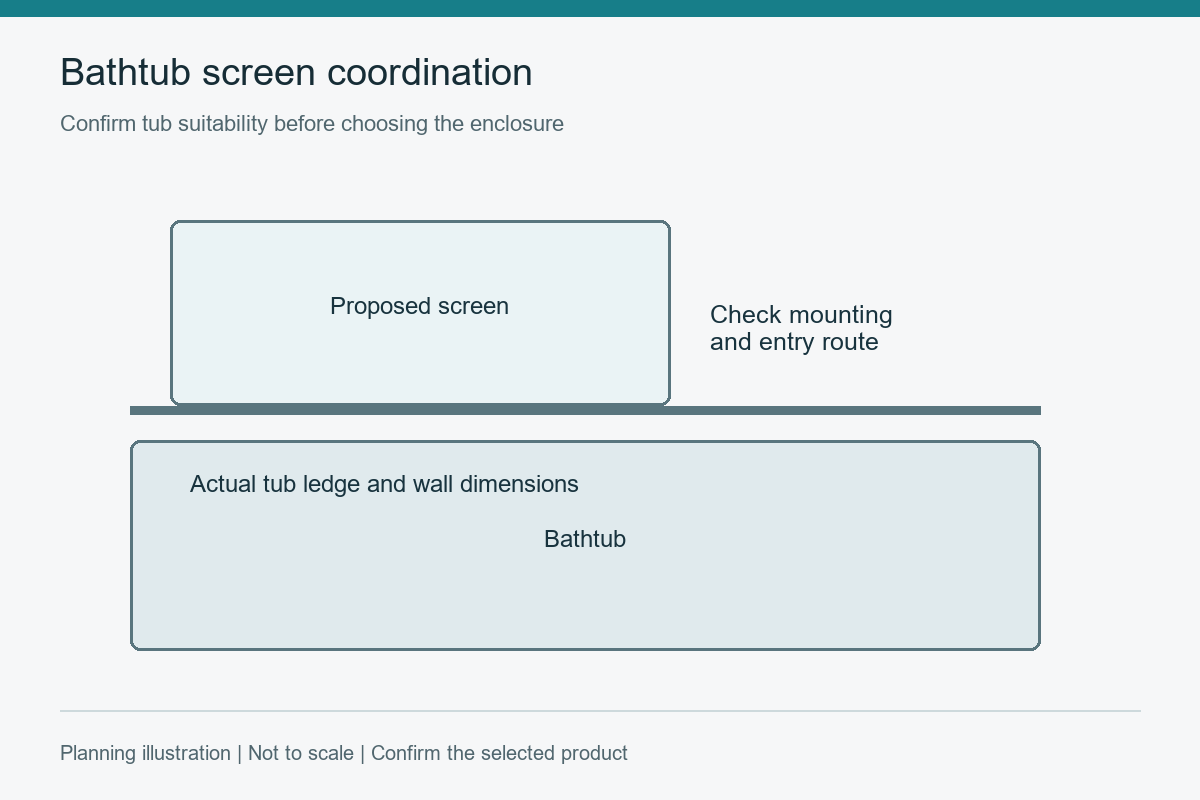
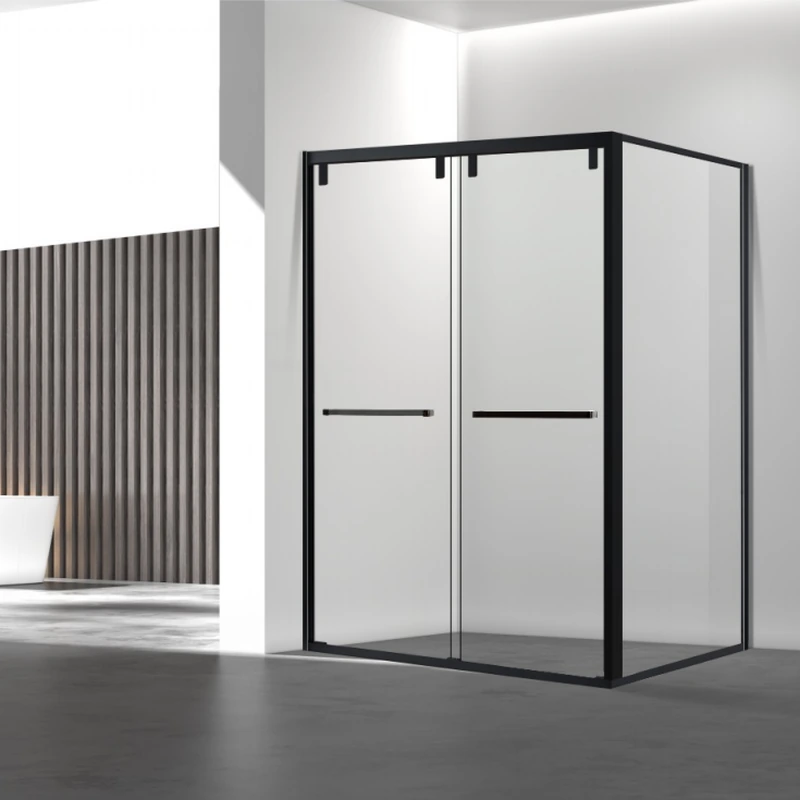
Shower wall kits need a coordinated plan for the substrate, joints, penetrations and enclosure fixings. Identify what forms the water-control layer in the chosen system. A decorative wall panel and the waterproofing arrangement are not interchangeable descriptions.
A decorative wall panel may not be the waterproof layer. Follow the tested or approved wall system and detail penetrations.
Panel sizes, trims and sealants affect appearance and water paths. Avoid tiny infill pieces and inaccessible sealant joints.
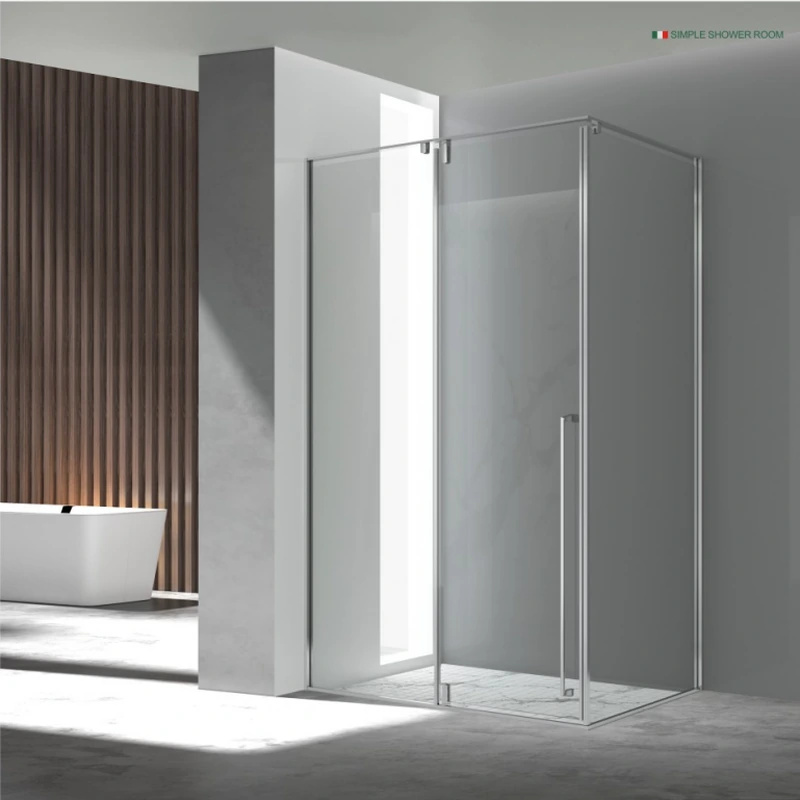
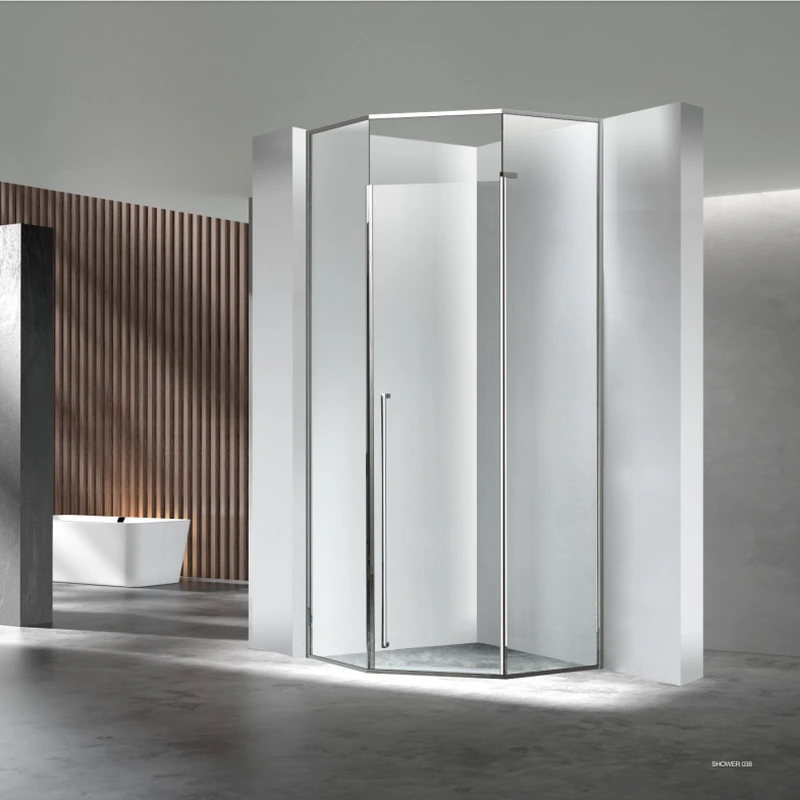
A related layout to review is Z007 Square Two-Fixed One-Open. The enclosure illustration does not establish that a tray, wall kit or plumbing is included.
Glass channels and hinges need suitable backing. Locate reinforcement before closing walls and protect waterproofing during drilling.
Place the shower valve, pipe outlets and glass fixing positions on one wall drawing. Ask the installer how each penetration is handled under the wall-system instructions. Check whether backing is needed before the wall closes, and confirm the curing sequence before the enclosure is used. This avoids discovering that a fixing location conflicts with an inaccessible service or unsupported panel.
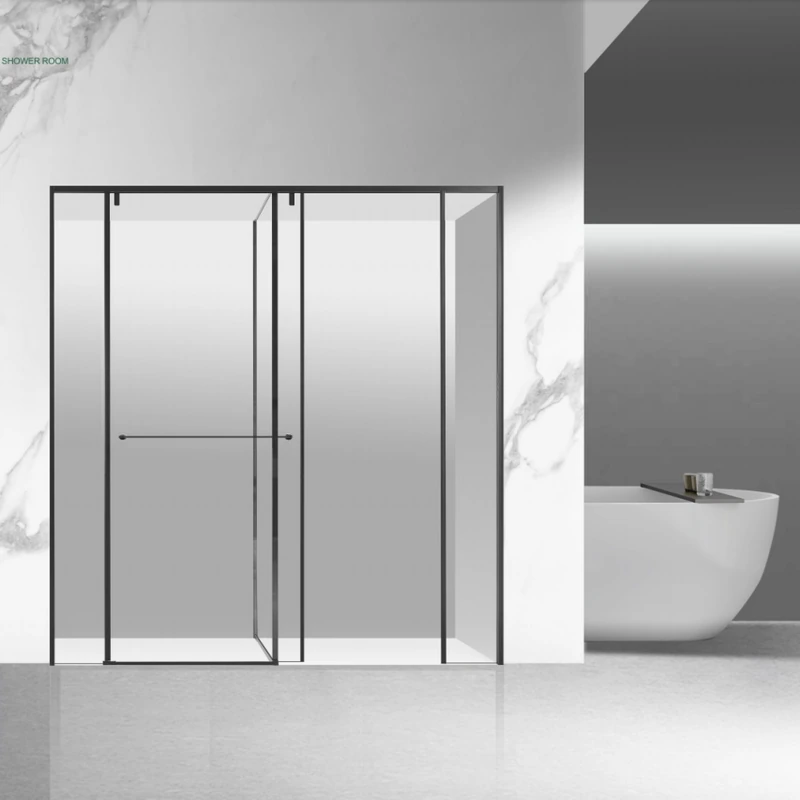
A related layout to review is Y001 T-Type Shower Enclosure. The enclosure illustration does not establish that a tray, wall kit or plumbing is included.
No. Confirm the wall-system and enclosure instructions together. The fixing needs suitable support and a compatible water-control detail; the visible panel surface alone does not establish that either is present.
Use the checks above to mark the unresolved items on your drawing or quotation. Send that marked-up version with the selected product reference so the next discussion can focus on the actual configuration.
Manufacturer instructions are cited as an example of the coordination required. Follow the instructions supplied for your selected enclosure.